Well, you guessed correctly, it is totally Joanna!
Today I didn't go to work because of a nasty tooth ache, actually I suffer from an inflammation of a nerve under a tooth so you get an idea....
So when the postman came, I was thrilled to find a birthday card from Joanna, it certainly made my day a whole lot brighter! Isn't she a doll?
The card is mostly in pink and green (have I ever mentioned that I love pink and green? LOL!) and it has several layers of material and a very pretty patterned paper. I also love the doily in the back as well as the pink distressed backround for the sweet Tilda (I think I'm addicted to Tildas, tell me doctor, will I survive it???). I also loved the pink ribbon detail because it reflects beautifully the pink dotted circle in the back.
Joanna, thanks so much for the gorgeous card, so fresh and cute and for your wishes, I wish joy and health to you and your family as well!
I really liked the process of making an album for Effie, so I decided to make another for my friend Maria whose birthday is approaching. I used a chipboard album from Sfragidomania and covered the pages with DCWV papers from the Garden Party paper stack.
As you can tell, green and pink is my favorite color combo, so I couldn't resist the temptation to use it once again! Also, I had the genious idea to write her name by mixing greek and english letters, but I just realized that it looks like I've written Mapia and not Maria! LOL!!!
As for the tiny flowers, I bet you've seen them again in my projects, it's a super easy and fast to make them, one of these days I'll make a post about how you can make them too!
I really love the image on the right page, it's a BW image I found online, I just printed it and colored it with my copics and on the back I wrote my wishes for my friend.
On this page I made a gatefold mini, I also added a separate photo tag on the back.
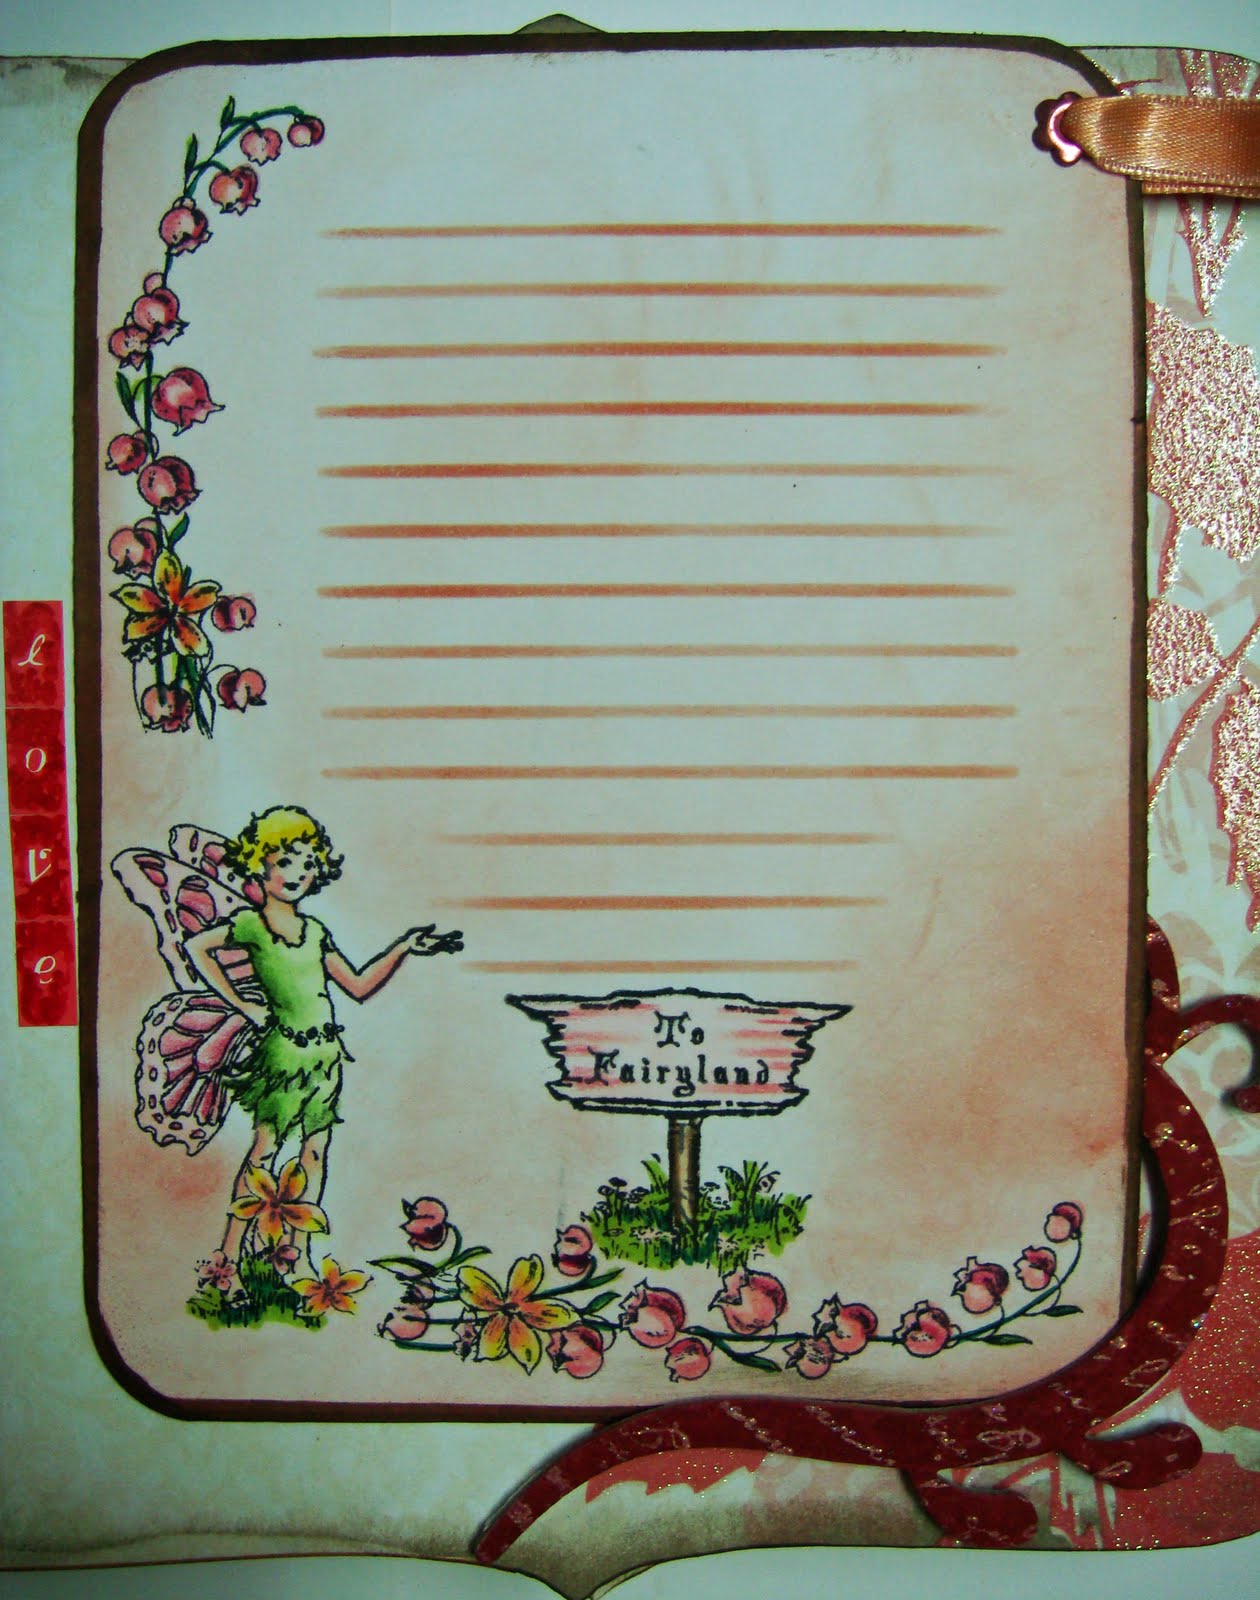
This is the back side of the photo tag on the right, I made a journaling spot, the stamps are from a Crafty Secrets clear stamps set, I colored it with my copics and finished it with colored pencils.
The image on the left is another BW image that I printed and colored with my copics, the "Mat Queen" was so suitable for my friend!
Here I made a trifold mini (on the left) and a booklet (on the right). The stamp is Crafty Secrets as well.
For the last two pages I made another tag and another mini mini (LOL!) the sweet Tilda was a loan from Joanna (thanks a bunch Joanna!) I was inspired from Effie's card and I made the background.
I guess my friend will like the album, she's not into scrapbooking but she loves the cards I make for her...and I hope you'll like it too!
Here 's a video as well:
I wanted to make a card for my friend's Eleni name day and I wanted to use this sweet Tilda, and I had the idea to place her outdoors. So I started by making the tree, I just made a tree trunk drawing, I cut it and colored it with my copics. For the folliage I just inked a piece of cardstock with green distress inks and then embossed it with a Cuttlebug embossing forlder.
After positioning the tree on the card, it seemed too bare to me so I made a picket fence out of beige cardstock with a ruler and a pencil, I also inked it with distress inks. Then I used some green cardstock and made the grass and on top I adhered the Tilda with foam squares.
Then I added more strips of grass in front of the Tilda, but that was not enough, so I also made a May wreath with green Flower Soft and Martha Stewart's microbeads.
When I thought that it was done, I realized that I forgot to add a "happy name day", so I made two little rocks with cardstock and distress inks and wrote the wish on them (LOL!) and...ready!
I had totally forgotten that I had to go to two weddings, so when the actual days approached, I realized that I had to make two cards for my wishes, ASAP! So I used the same pattern and I just varied the color scheme based on the color of the invitations.
After cutting the cardstock for the card base, I colored it with Ranger's distress inks (Antique Linen and Broken China). Then I stamped on a piece of white paper with a very cute Crafty Secrets clear stamp and colored the images with my copics and then cut them using an oval nestabillities die. Then I used a slightly larger nestabillities die in order to make the scalloped frame that I adhered on the colored image with foam squares.
The finishing touch was the two hearts I added, the red ones are colored with a Copic marker.
Quick and easy, but aren't they cute too?
For the March layout I chose a vibrant K and Company backround paper and I used the green and dark pink colors throughout the layout. After adhering the photos on green cardstock and positioning them in place, I
adhered two photos on a tag like cardstock piece and secured it in place with a photo corner because I didn't want to adhere it in place since I did some journaling on the back.
Then I started embellishing the page using color images that I had already mounted on dark pink cardstock for some contrast. Then I cut the Happy Easter and the date with the Cuttlebug "Harmony" alphabet and then made some flowers using pink tulle, they're very easy to make, I just used a round scallop punch to cut them and then added one layer on top of the other and before positioning them on the page I twisted the bottom a bit and then added a pearl in the centre. Last step was to add the butterfly that I had already stamped on acetate and colored with my copics and some glitter and...ready!
This is the gorgeous mini album I received from Effie for the Scrapbookers in Greece mini albums swap. I really loved the diversity of shapes, colors, embellishments, everything about it, a very beautiful mini, totally spring!
It is made from chipboard pages from Sfragidomania and I really liked the material and the shapes. She was so thoughtful and generous (thanks Effie!) so as to send me extra papers and tags in case I wanted to add something to it, as well as a pouch full with embellishments!
She also made me a super cute card with a Sarah Kay (I just love Sarah Kay)!
Today is a day of celebration for the moms all around the world, but here in Greece today was a day tinted with rage and grief due to the recent events in downtown Athens. We all realize that, alas, human life worths nothing these days, more so when it happens so close to you and under such circumstances, and after the spectrum of emotions that you go through, the residue is fear, fear for the next day and the next and the next, fear for ourselves, for our loved ones, fear for the human race all around the world.
That being said, I return to my little "safe" world, where I made a basket with flowers for my dear mom.
This is a basket that I've seen many times in various blogs and YouTube videos, so I decided to give it a try:
I started with a 8x8 paper (from the DCWAW Garden Party paper pack) and scored every side at 2 and a half inches. Then I cut four squares at 2 inches and a quarter and adhered them on the four square pieces. I only made four cuts on the whole thing, I added some red lines in the photo so as to give you an idea.
I also covered the lot with Ranger's Crackle Accents.
Then I added the strip of paper for the handle and secured the sides together with a brad, I also added on each side a flower and some green swirls I made.
Then I put inside it many layers of white thin paper that I had already stamped with the Hero Arts's "Old Letter" stamp and red distress ink and then positioned in the center a small plastic pot and...ready!
Happy Mother's Day to all of you moms out there, hope the children of the world will always be safe and happy.
When I received this sweet "Tilda with 3 flowers" I knew I had to use it right away, it is so cute! So I made a happy birthday card for a friend, but since this is my first sitting Tilda, I had to think a little about where she would sit on!LOL!
So, being spring and all, I decided to put her on a tree branch! This is how:
First of all, I used green cardstock for the card base and stamped on it with Versamark and a folliage stamp. Then I heat embossed it with a clear but sparkly embossing powder and then colored the lot with distress inks in various shades of green. Then I wiped the lot with a lightly humid paper towel, so as to reveal the stamped leaves.
Next step was to make the branches, so I cut them freehand from a brown cardstock piece, did some sanding, inking, etc and adhered it on the card. The result was ok but a little flat, so I started punching some leaves using the Martha Stewart Oak Leaf punch, and adhered them in bunches using foam squares.
Then I thought that I should add some tiny flowers and decided to make them myself using a technique that I see everywhere and lately in Scrapbooking in Greece as well. The result was ok, but I decided to enhance it using some UTEE on the petals for a little gloss, I also added a blob of glue in the centre and added some Martha Stewart microbeads.
Then I added the little birds, I cut them from a Cosmo Cricket leftover paper, I think it is quite a cute detail!
Next step, I positioned the Tilda after coloring her with my copics, I chose pink for her outfit because I really wanted her to pop inside all this green!
At this point I thought the card was ready, but then decided to add the Happy Birthday banner, so I colored pink a piece of ribbon and wrote the Happy Birthday on it with a white pen, added some flowers and leaves and...ready! I went wild once more while making this, but it was so much fun!