Showing posts with label Tildas. Show all posts
Sunday, May 11, 2014
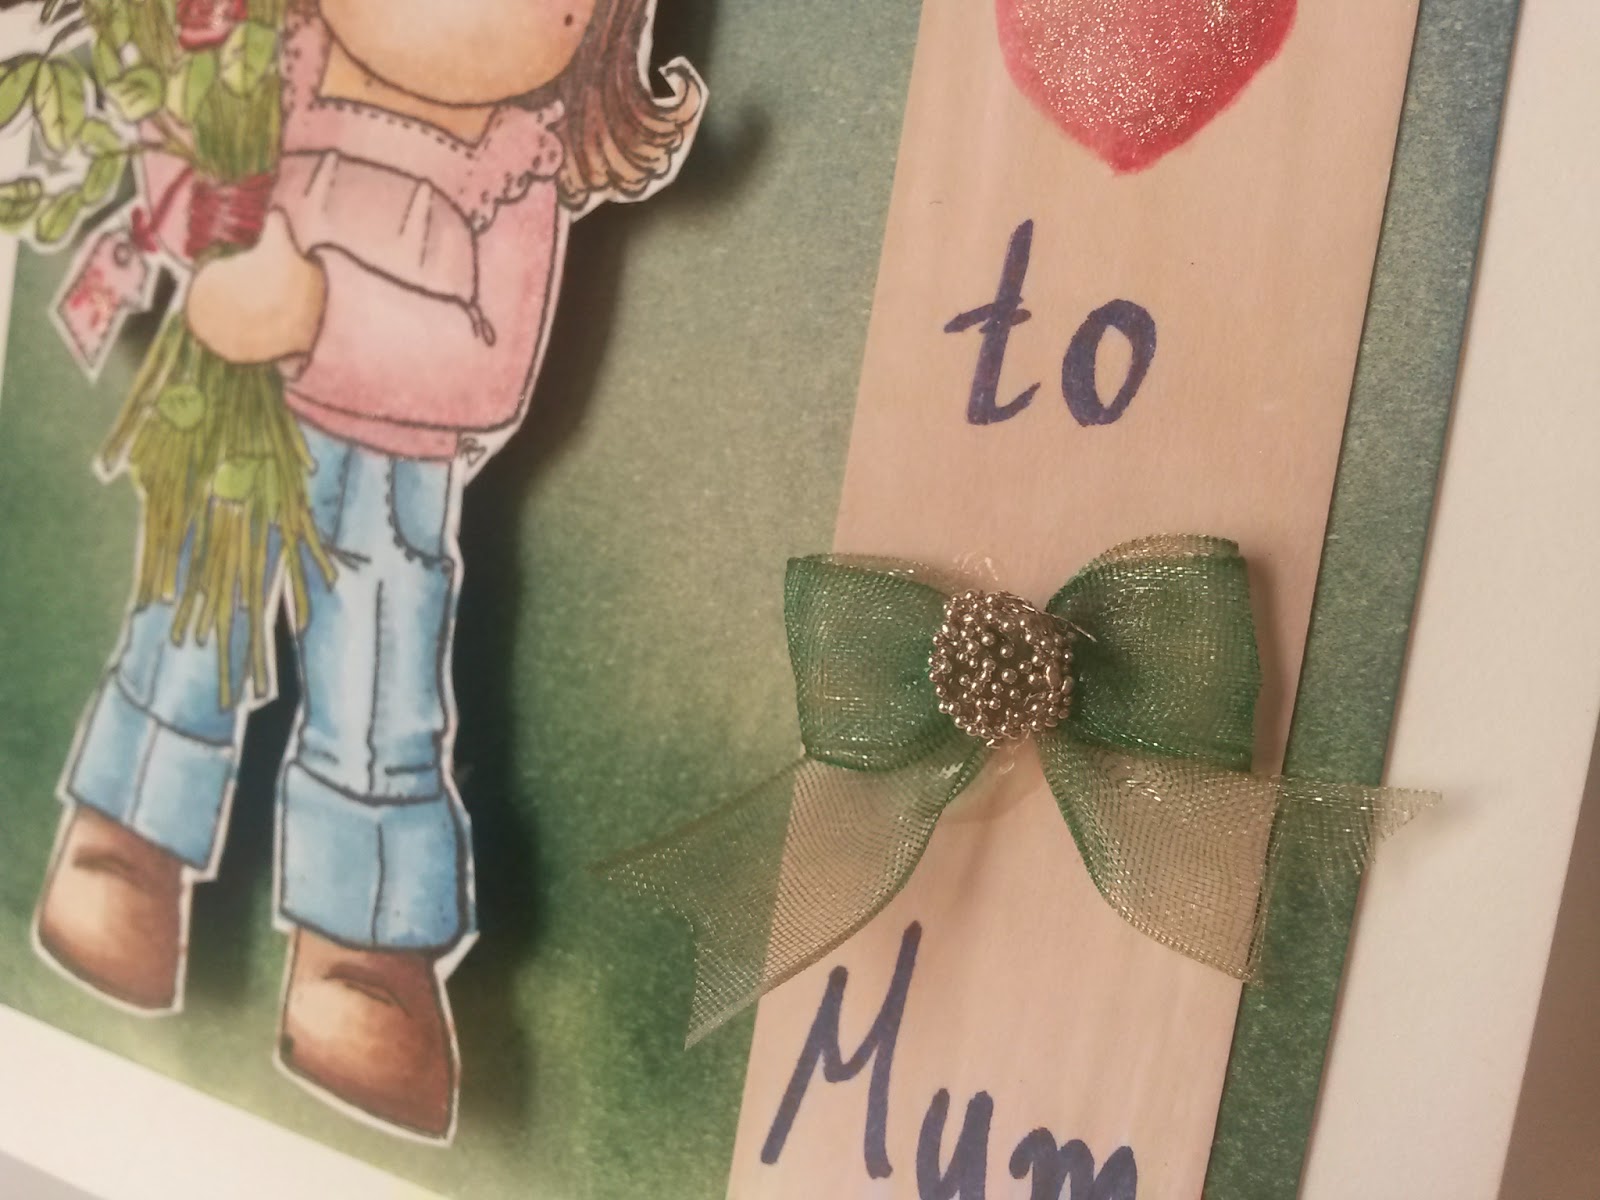
Happy Mother's Day!
Ετικέτες
card,
copic markers,
distress inks,
stamps,
Tildas
Monday, December 6, 2010
JYC 2010: 2nd December
Weather is the prompt, I dream of white christmas but it is sooo not happening, so as you can imagine I keep complaining about the insane weather, I start worrying that I'm in a Doctor Who episode and that I'm mysteriously transported (or should I say teleported?) to Australia! As you can see the flowers are blooming in my backyard, I won't be surprised if I see the Easter Bunny (ok, maybe it will be brain damage but I'm sure Dr House can find the cure!) see, I 'm already rambling!
My ideal christmas weather is illustrated on the left page, after I finished it I thought that it lacked something (snow, duh!) so I used a uni ball white pen and added snow on the branches and dots all over the images, it really made the difference! For coloring the Tilda I used my copics, I wanted an intense and vibrant result so as to contrast whith the backround.
The truth is that today it was a little chilly (11 *C in the morning, compared to the previous days you can call it chilly) so I think that maybe it will eventually get on track, I certainly hope so!
My ideal christmas weather is illustrated on the left page, after I finished it I thought that it lacked something (snow, duh!) so I used a uni ball white pen and added snow on the branches and dots all over the images, it really made the difference! For coloring the Tilda I used my copics, I wanted an intense and vibrant result so as to contrast whith the backround.
The truth is that today it was a little chilly (11 *C in the morning, compared to the previous days you can call it chilly) so I think that maybe it will eventually get on track, I certainly hope so!
Ετικέτες
christmas,
copic markers,
distress inks,
JYC 2010,
stamps,
Tildas
Monday, July 12, 2010
Project: "Serious" Notepad
A colleague of mine asked me if I could make her a notepad like mine, so I decided to make a more "mature" version. And here it is!
The fact is that I had already made the brown leather like cardstock piece, so I wanted to incorprate it in my project. It is very easy to make it, I just used various distress inks in green and brown shades, dried it with a heatgun, then embossed it using a Cuttlebug embossing folder and then lightly brushed with my Versamarc ink pad, sprinkled some UTEE and used my heatgun to set it. Here 's the result:
Then I embellished with a colored Tilda and some handmade flowers for the corners, for the yellow stems I just cut a piece of adhesive tape, made it like a cord and dipped it in some yellow glitter. Then I adhered an acetate piece on the lot for more endurance.
I kept the inside very simple, I just made a pocket using some cardstock where I adhered a piece of a doily, I also added a few tiny flowers that I covered with stickles.
My colleague liked it so much that she gave it to her daughter, she told me it was too pretty to keep for herself! LOL!
The fact is that I had already made the brown leather like cardstock piece, so I wanted to incorprate it in my project. It is very easy to make it, I just used various distress inks in green and brown shades, dried it with a heatgun, then embossed it using a Cuttlebug embossing folder and then lightly brushed with my Versamarc ink pad, sprinkled some UTEE and used my heatgun to set it. Here 's the result:
Then I embellished with a colored Tilda and some handmade flowers for the corners, for the yellow stems I just cut a piece of adhesive tape, made it like a cord and dipped it in some yellow glitter. Then I adhered an acetate piece on the lot for more endurance.
I kept the inside very simple, I just made a pocket using some cardstock where I adhered a piece of a doily, I also added a few tiny flowers that I covered with stickles.
My colleague liked it so much that she gave it to her daughter, she told me it was too pretty to keep for herself! LOL!
Ετικέτες
Bind it all,
copic markers,
cuttlebug,
distress inks,
doily,
notepad,
Tildas
Monday, May 31, 2010
Birthday Card for me!
Do you recognize the style in the card?
Well, you guessed correctly, it is totally Joanna!
Today I didn't go to work because of a nasty tooth ache, actually I suffer from an inflammation of a nerve under a tooth so you get an idea....
So when the postman came, I was thrilled to find a birthday card from Joanna, it certainly made my day a whole lot brighter! Isn't she a doll?
The card is mostly in pink and green (have I ever mentioned that I love pink and green? LOL!) and it has several layers of material and a very pretty patterned paper. I also love the doily in the back as well as the pink distressed backround for the sweet Tilda (I think I'm addicted to Tildas, tell me doctor, will I survive it???). I also loved the pink ribbon detail because it reflects beautifully the pink dotted circle in the back.
Joanna, thanks so much for the gorgeous card, so fresh and cute and for your wishes, I wish joy and health to you and your family as well!
Well, you guessed correctly, it is totally Joanna!
Today I didn't go to work because of a nasty tooth ache, actually I suffer from an inflammation of a nerve under a tooth so you get an idea....
So when the postman came, I was thrilled to find a birthday card from Joanna, it certainly made my day a whole lot brighter! Isn't she a doll?
The card is mostly in pink and green (have I ever mentioned that I love pink and green? LOL!) and it has several layers of material and a very pretty patterned paper. I also love the doily in the back as well as the pink distressed backround for the sweet Tilda (I think I'm addicted to Tildas, tell me doctor, will I survive it???). I also loved the pink ribbon detail because it reflects beautifully the pink dotted circle in the back.
Joanna, thanks so much for the gorgeous card, so fresh and cute and for your wishes, I wish joy and health to you and your family as well!
Thursday, May 20, 2010
Card Making: Happy Name Day!
I wanted to make a card for my friend's Eleni name day and I wanted to use this sweet Tilda, and I had the idea to place her outdoors. So I started by making the tree, I just made a tree trunk drawing, I cut it and colored it with my copics. For the folliage I just inked a piece of cardstock with green distress inks and then embossed it with a Cuttlebug embossing forlder.
After positioning the tree on the card, it seemed too bare to me so I made a picket fence out of beige cardstock with a ruler and a pencil, I also inked it with distress inks. Then I used some green cardstock and made the grass and on top I adhered the Tilda with foam squares.
Then I added more strips of grass in front of the Tilda, but that was not enough, so I also made a May wreath with green Flower Soft and Martha Stewart's microbeads.
When I thought that it was done, I realized that I forgot to add a "happy name day", so I made two little rocks with cardstock and distress inks and wrote the wish on them (LOL!) and...ready!
After positioning the tree on the card, it seemed too bare to me so I made a picket fence out of beige cardstock with a ruler and a pencil, I also inked it with distress inks. Then I used some green cardstock and made the grass and on top I adhered the Tilda with foam squares.
Then I added more strips of grass in front of the Tilda, but that was not enough, so I also made a May wreath with green Flower Soft and Martha Stewart's microbeads.
When I thought that it was done, I realized that I forgot to add a "happy name day", so I made two little rocks with cardstock and distress inks and wrote the wish on them (LOL!) and...ready!
Ετικέτες
card,
copic markers,
cuttlebug,
distress inks,
flower soft,
flowers,
spring,
Tildas
Sunday, May 2, 2010
Card Making: Happy Birthday!
When I received this sweet "Tilda with 3 flowers" I knew I had to use it right away, it is so cute! So I made a happy birthday card for a friend, but since this is my first sitting Tilda, I had to think a little about where she would sit on!LOL!
So, being spring and all, I decided to put her on a tree branch! This is how:
First of all, I used green cardstock for the card base and stamped on it with Versamark and a folliage stamp. Then I heat embossed it with a clear but sparkly embossing powder and then colored the lot with distress inks in various shades of green. Then I wiped the lot with a lightly humid paper towel, so as to reveal the stamped leaves.
Next step was to make the branches, so I cut them freehand from a brown cardstock piece, did some sanding, inking, etc and adhered it on the card. The result was ok but a little flat, so I started punching some leaves using the Martha Stewart Oak Leaf punch, and adhered them in bunches using foam squares.
Then I thought that I should add some tiny flowers and decided to make them myself using a technique that I see everywhere and lately in Scrapbooking in Greece as well. The result was ok, but I decided to enhance it using some UTEE on the petals for a little gloss, I also added a blob of glue in the centre and added some Martha Stewart microbeads.
Then I added the little birds, I cut them from a Cosmo Cricket leftover paper, I think it is quite a cute detail!
Next step, I positioned the Tilda after coloring her with my copics, I chose pink for her outfit because I really wanted her to pop inside all this green!
At this point I thought the card was ready, but then decided to add the Happy Birthday banner, so I colored pink a piece of ribbon and wrote the Happy Birthday on it with a white pen, added some flowers and leaves and...ready! I went wild once more while making this, but it was so much fun!
So, being spring and all, I decided to put her on a tree branch! This is how:
First of all, I used green cardstock for the card base and stamped on it with Versamark and a folliage stamp. Then I heat embossed it with a clear but sparkly embossing powder and then colored the lot with distress inks in various shades of green. Then I wiped the lot with a lightly humid paper towel, so as to reveal the stamped leaves.
Next step was to make the branches, so I cut them freehand from a brown cardstock piece, did some sanding, inking, etc and adhered it on the card. The result was ok but a little flat, so I started punching some leaves using the Martha Stewart Oak Leaf punch, and adhered them in bunches using foam squares.
Then I thought that I should add some tiny flowers and decided to make them myself using a technique that I see everywhere and lately in Scrapbooking in Greece as well. The result was ok, but I decided to enhance it using some UTEE on the petals for a little gloss, I also added a blob of glue in the centre and added some Martha Stewart microbeads.
Then I added the little birds, I cut them from a Cosmo Cricket leftover paper, I think it is quite a cute detail!
Next step, I positioned the Tilda after coloring her with my copics, I chose pink for her outfit because I really wanted her to pop inside all this green!
At this point I thought the card was ready, but then decided to add the Happy Birthday banner, so I colored pink a piece of ribbon and wrote the Happy Birthday on it with a white pen, added some flowers and leaves and...ready! I went wild once more while making this, but it was so much fun!
Ετικέτες
card,
copic markers,
distress inks,
flowers,
microbeads,
punch,
ribbon,
spring,
Tildas
Saturday, March 20, 2010
Card Making: Flowers for U
I made this card for the name day of a friend of mine. After stamping and coloring the Tilda with my copics, I stamped again but this time I colored only a few roses and the tiny butterfly, I cut them and adhered on top of the colored image with tiny foam squares.
Then I had the idea to do a little something on the lower left corner of the pp (K & Co), that is to do some stitching with green twine, but the result wasn't to my liking and this part of the pp was a disaster. So I thought to try something else prior to tossing it in the garbage: I cut the lower left corner with a round nestabillities die and guess what, it worked! I also cut a smaller circle and when I positioned everything in place it came out so cute!
The detail I like the most is the button, I glued a Basic Grey alpha sticker underneath a clear button and adhered the lot on tulle that I had already cut with a nestabillities die.
I think my friend will love it!
Then I had the idea to do a little something on the lower left corner of the pp (K & Co), that is to do some stitching with green twine, but the result wasn't to my liking and this part of the pp was a disaster. So I thought to try something else prior to tossing it in the garbage: I cut the lower left corner with a round nestabillities die and guess what, it worked! I also cut a smaller circle and when I positioned everything in place it came out so cute!
The detail I like the most is the button, I glued a Basic Grey alpha sticker underneath a clear button and adhered the lot on tulle that I had already cut with a nestabillities die.
I think my friend will love it!
Ετικέτες
buttons,
card,
copic markers,
dymo,
nestabillities,
Tildas
Sunday, January 31, 2010
Card Making: 3d Card Frame
I did it! I cut my first shape with my Craft Robo Lite! Whoooohoooo!
Well, to be honest with you, I had it standing on my desk for a month but was intimidated to use it...LOL!
I've been using the program without the actual cutting, just making shapes and trying to understand what it will cut...I definitely have to read the manual, step by step, but I'm too lazy for it, so I kept fooling around and I did the card template, hoping it would be ok.
So, today I thought to give it a try and I was overwhelmed when I saw that it did what I hoped it would do!
I have to make one adjustment to the file because I used the same size for the front and for the back while (I found it out after the cut) the back must be a little shorter so that the front is more recline backwards. As soon as I correct it I will post the GSD file that I made.
I also used a Basic Grey pp from the "Nook and Pantry" collection and the sweet Tilda. This time I colored her with Prisma pencils, I have to say that I prefer my copics but I'll try next time to combine them, like coloring with copics and adding accents with pencils, I've read about it somewhere but I can't remember where.
For the little bushes I just cut scallop circles on green cardstock and then used distress inks in green for the edges.
Last step I added the happy birthday, I cut a tiny cake from the pp, covered with Sakura Stardust pens and adhered it with a foam dot.
I like so much this pink oh so girly birthday card, my friend will love it!
If you like this kind of cards, here's another one I made a few months ago.
Well, to be honest with you, I had it standing on my desk for a month but was intimidated to use it...LOL!
I've been using the program without the actual cutting, just making shapes and trying to understand what it will cut...I definitely have to read the manual, step by step, but I'm too lazy for it, so I kept fooling around and I did the card template, hoping it would be ok.
So, today I thought to give it a try and I was overwhelmed when I saw that it did what I hoped it would do!
I have to make one adjustment to the file because I used the same size for the front and for the back while (I found it out after the cut) the back must be a little shorter so that the front is more recline backwards. As soon as I correct it I will post the GSD file that I made.
I also used a Basic Grey pp from the "Nook and Pantry" collection and the sweet Tilda. This time I colored her with Prisma pencils, I have to say that I prefer my copics but I'll try next time to combine them, like coloring with copics and adding accents with pencils, I've read about it somewhere but I can't remember where.
For the little bushes I just cut scallop circles on green cardstock and then used distress inks in green for the edges.
Last step I added the happy birthday, I cut a tiny cake from the pp, covered with Sakura Stardust pens and adhered it with a foam dot.
I like so much this pink oh so girly birthday card, my friend will love it!
If you like this kind of cards, here's another one I made a few months ago.
Ετικέτες
card,
copic markers,
CraftRoboLite,
distress inks,
Prismacolor,
sakura pens,
Tildas
Saturday, January 23, 2010
A cute Sketchbook! #2
I really liked this sketchbook so I made another one (background paper from the Cosmo Cricket "Earth Love" collection.)!
LOL!
I also noticed that I have to buy some O'wires, the only color I have is red!
LOL LOL!
Now, in order to give some meaning to this post
LOL LOL LOL!
I'll give you a tip: when you do something with the Bind it all, at the point that you cut the covers, always cut them larger than your actual pages, particularly in width, let's say half an inch, especially when you 'll use many pages in your book/album etc. This way the outcome of the binding is better looking. Of course this is also a matter of personal taste, but in my case I prefer it this way.
And another tip, about blending the colors with your markers: this time I colored the Tilda starting with the darkest color, then blended the color with a lighter shade and then blended the total with the lightest shade. I found that this way I color faster and probably don't waste as much ink as I do when I start with the lighest shade. On the other hand, putting a very dark color on "dry" paper may have as a result a not so uniform blending, because the paper is not already soaked with a lightest shade and that means that it will absorb all your dark ink, so if you use dark shades, that's something to consider.
Now, about this sketchbook, since I'll use it mostly for coloring with markers, in order to avoid soaking through the next page and wasting it, I used the idea of the repositionable Zutter pages: I punched a page and then used the scissors and cut the paper between the slots and the edge of the paper. This way I can secure this scrap paper behind the page I'm coloring and when I'm done I can remove it and put it behind the next page.
LOL!
I also noticed that I have to buy some O'wires, the only color I have is red!
LOL LOL!
Now, in order to give some meaning to this post
LOL LOL LOL!
I'll give you a tip: when you do something with the Bind it all, at the point that you cut the covers, always cut them larger than your actual pages, particularly in width, let's say half an inch, especially when you 'll use many pages in your book/album etc. This way the outcome of the binding is better looking. Of course this is also a matter of personal taste, but in my case I prefer it this way.
And another tip, about blending the colors with your markers: this time I colored the Tilda starting with the darkest color, then blended the color with a lighter shade and then blended the total with the lightest shade. I found that this way I color faster and probably don't waste as much ink as I do when I start with the lighest shade. On the other hand, putting a very dark color on "dry" paper may have as a result a not so uniform blending, because the paper is not already soaked with a lightest shade and that means that it will absorb all your dark ink, so if you use dark shades, that's something to consider.
Now, about this sketchbook, since I'll use it mostly for coloring with markers, in order to avoid soaking through the next page and wasting it, I used the idea of the repositionable Zutter pages: I punched a page and then used the scissors and cut the paper between the slots and the edge of the paper. This way I can secure this scrap paper behind the page I'm coloring and when I'm done I can remove it and put it behind the next page.
Ετικέτες
Bind it all,
copic markers,
Cosmo Cricket,
Tildas
Wednesday, January 20, 2010
A cute Sketchbook!
It's been a while now that I wanted to make a small sketchbook for stamping, experimenting with color combinations, etc.
So I made this one!
For the covers I cut chipboard pieces and covered them with paper. For the front cover I used a Basic Grey patterned paper from the "Nook and Pantry" collection. In order to make the frame I used the Sizzic "Ornate Frame" die on white paper and colored it with distress inks but the result was a little flat so I added some touches with my green copics. Then I wanted to emboss it with some sparkly clear embossing powder but I discovered after the embossing that it was accidentally mixed with some white embossing powder (I can't imagine how!!!) so the result was a little surprise! Then I added the colored Tilda, I also touched the roses with the red Sakura Stardust pen for a little sparkle, and finally added the little flowers and the "label".
Cute cute cute!
So I made this one!
For the covers I cut chipboard pieces and covered them with paper. For the front cover I used a Basic Grey patterned paper from the "Nook and Pantry" collection. In order to make the frame I used the Sizzic "Ornate Frame" die on white paper and colored it with distress inks but the result was a little flat so I added some touches with my green copics. Then I wanted to emboss it with some sparkly clear embossing powder but I discovered after the embossing that it was accidentally mixed with some white embossing powder (I can't imagine how!!!) so the result was a little surprise! Then I added the colored Tilda, I also touched the roses with the red Sakura Stardust pen for a little sparkle, and finally added the little flowers and the "label".
Cute cute cute!
Ετικέτες
Bind it all,
copic markers,
distress inks,
spring,
Tildas
Thursday, December 24, 2009
Card Making: Christmas #4
Merry Christmas everyone!
I managed to make the last two cards for this year, I used the scraps of paper from the first greek crop (thank you ladies), a couple of Tilda's, nestabillities, my copics and distress inks.
So, here 's the first one:
and the second one, in this I used a clear Copic Atyou Spica pen on the dress, the wings, and the ribbons of the gifts, I wish you could see it in real life, it's awesome!
I'm wishing a great Christmas Eve night to all!
I managed to make the last two cards for this year, I used the scraps of paper from the first greek crop (thank you ladies), a couple of Tilda's, nestabillities, my copics and distress inks.
So, here 's the first one:
and the second one, in this I used a clear Copic Atyou Spica pen on the dress, the wings, and the ribbons of the gifts, I wish you could see it in real life, it's awesome!
I'm wishing a great Christmas Eve night to all!
Ετικέτες
card,
christmas,
copic markers,
distress inks,
nestabillities,
Tildas
Subscribe to:
Posts (Atom)