Showing posts with label distress inks. Show all posts

Sunday, May 11, 2014

Happy Mother's Day!

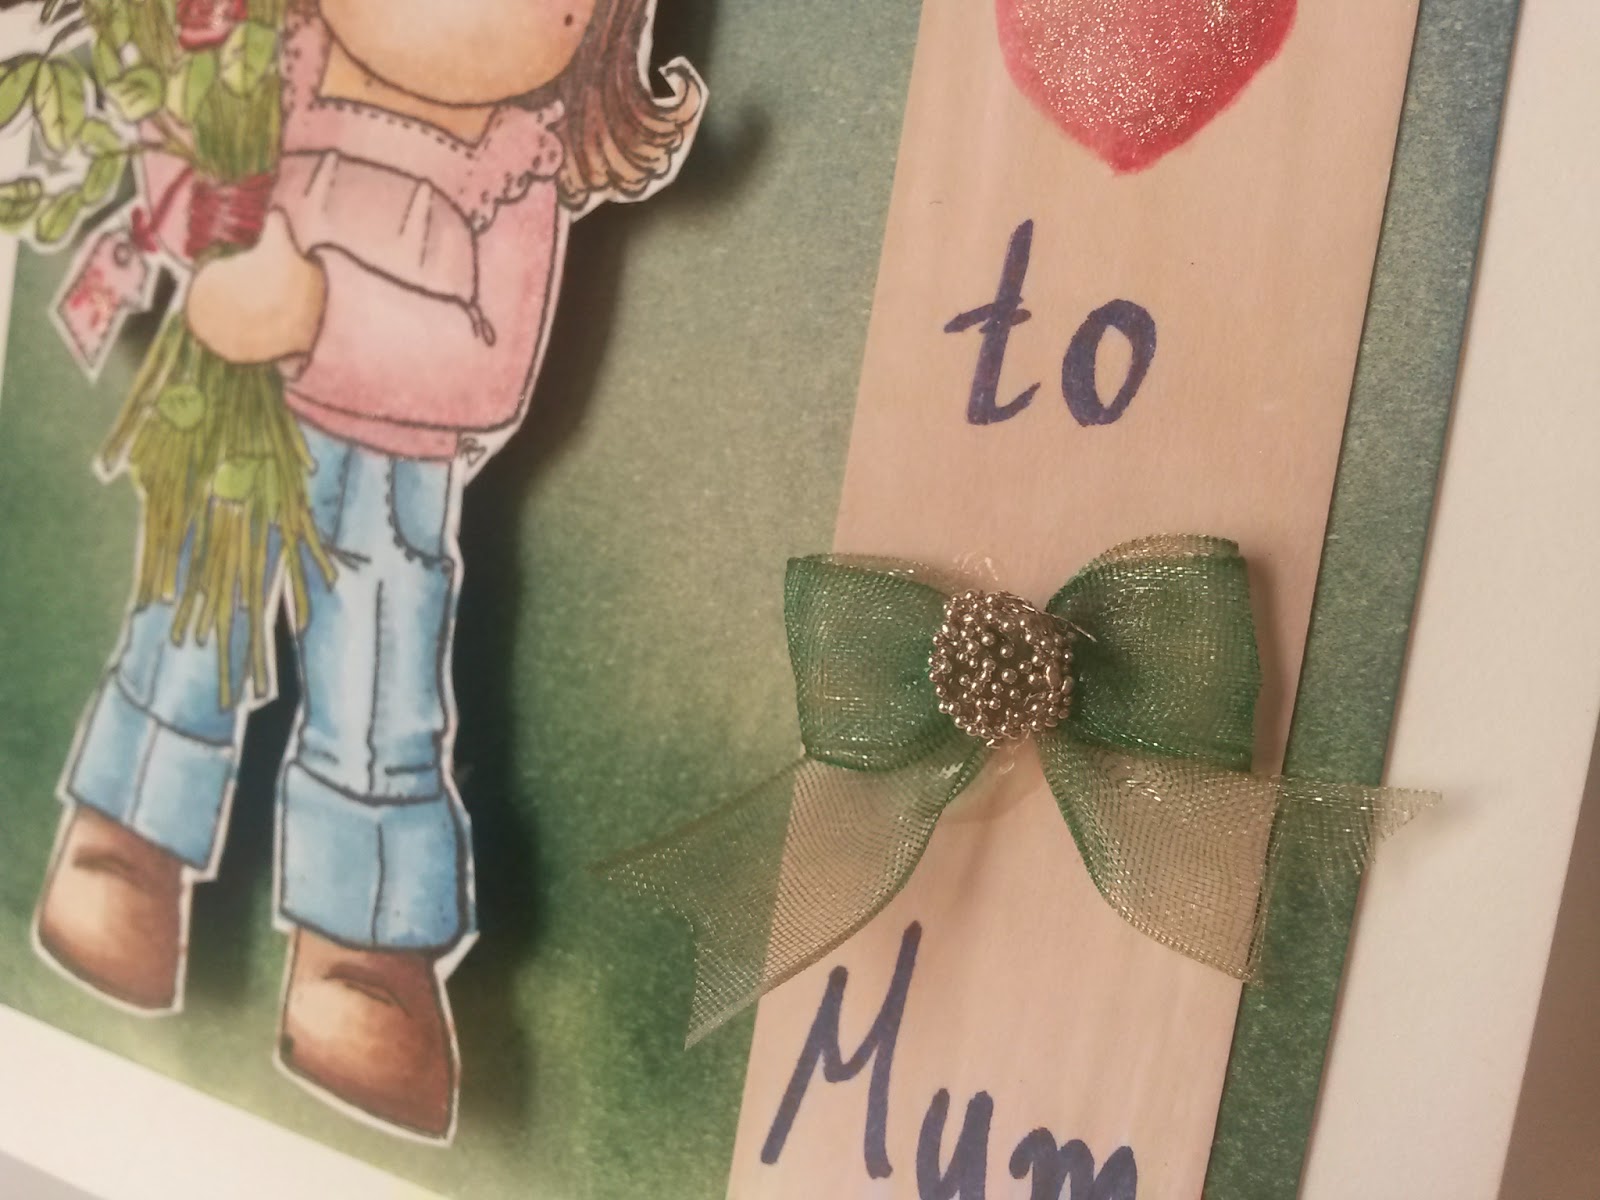
Here's a little card I made for my mother


Wishing all the mothers everywhere a happy Mother's Day!

Sunday, May 4, 2014

Stamps and inks storage

In order to be able to scrap whenever I feel like, I have to have my stuff more or less organised, I can't handle chaos (creatively speaking).

So, here's how I store stamps and inks. Maybe not perfectly organised but it works for me!


In the front I keep all my unmounted stamps in an ikea box, according to category (ie flowers, birds, etc). In this box I also keep a stamp cleaner and next to it a couple of spritzers and paints.


Then I keep my wooden stamps, I have a few of them because they take up a lot of space so I rarely buy this type of stamps.


Towards the back of the drawer I keep two containers, one on the right with the inks for my distress ink pads and one on the left with various inks.


On top of evetything I place my Fiskars stamp press, an acrylic stamp block, the Memento Tuxedo Black inkpad I use all the time and the Ranger's Rubit stamp cleaning pad.

I also made a couple of blocs from stamp paper, I had many leftovers from various projects so I binded them together and I have them all in one place.


As for my distress ink pads, I keep them separately in little drawers on my desk because I use them constantly.


That's it for now,  I hope you are all well and thriving!

Sunday, April 13, 2014

DIY Starbucks Tumbler!

Spring coming I decided I needed a springy Starbucks tumbler fot my coffee, so, a few copics later and a lot of ink stains on my hands, here is the result!


I started by stamping the paper insert. On second thought I should have used Stazon because the paper is quite glossy and the ink smudged s bit, but, what's done is done.


Then, I lightly colored the background with distress inks and then, my copics had a party!


Here's the finished tumbler.


That's it for now, I hope you are all well and thriving!

Wednesday, August 10, 2011

Hello darlings!

Hello hello hello darlings, I know it's been AGES since I dissapeared, but, things happen, then I lost my mojo, then, well, I haven't actually found it but I 'm coming around slowly.

My first project after sooo long seemed like a true feat to me, I didn't know what I had in my stash (or where exactly was everything) or how to use it (lol!). So, after a lot of search and trial and error, I managed to finish this:


It is a tumbler from Starbucks, the one that has a sort of template paper inside so that you can personalize it, it costs about €9, I thought it would be a nice idea for a cheap but cute gift for a friend of mine.

Don't ask me how I did it, it is all a blur, I remember stamping like crazy, using distress inks like a lunatic and addding TONS of glittery stuff, trust me, it was SCARY!

The actual finished project:


And a close up (lovely Sarah Kay):


That's it for now, I hope you 're all well and thriving, see ya (hopefully in this century!).

Thursday, December 23, 2010

Card making: Christmas card #6

I made a few more cards, this one is for my niece. Don't ask me how I did this, I have no idea!!!


It all started when I attempted to make a flower like a paper rosette but it was a disaster, it was torn in two, so, I threw it away.
I cut the red cardstock for the card and then I cut a window and then the phone rang. So while talking, I absentmindedly played with the card and when the phonecall was over, I was looking at a bent card that looked like a futuristic hotel room! It goes without saying that it was rocking like a granny's chair, so I added the bottom round piece for some balance!


So, while I was thinking what I should do with it, I imagined a room with a window so I added this and that and guess what, I took the torn paper rosette out of the paper bin, I cut it in half and it was perfect on top of the window!


Of course no window is comlplete without a little hanging pot, so I made one too!


I also made another card, a totally different one, and I tried for the first time some Glimmer Mist in combination with a Tattered Angels mask. As you can see, I also succeded in making a paper rosette!
I don't have Tim Holtz's die, I just used my trimmer's scalop blade on a strip of pp and then scored it.


It is really fun to experiment, you never know what will come out!

Sunday, December 19, 2010

Card making: Christmas card #5

I finally managed to make some more christmas cards, here's the first


I adhered some pp behind the snowflake, I also added some stickles on top


For this one I used a Dovecraft stamp from a christmas set I adore, I also stamped a Hero Arts tree and the tiny ones are from a pp, I just cut them and adhered them on the card.


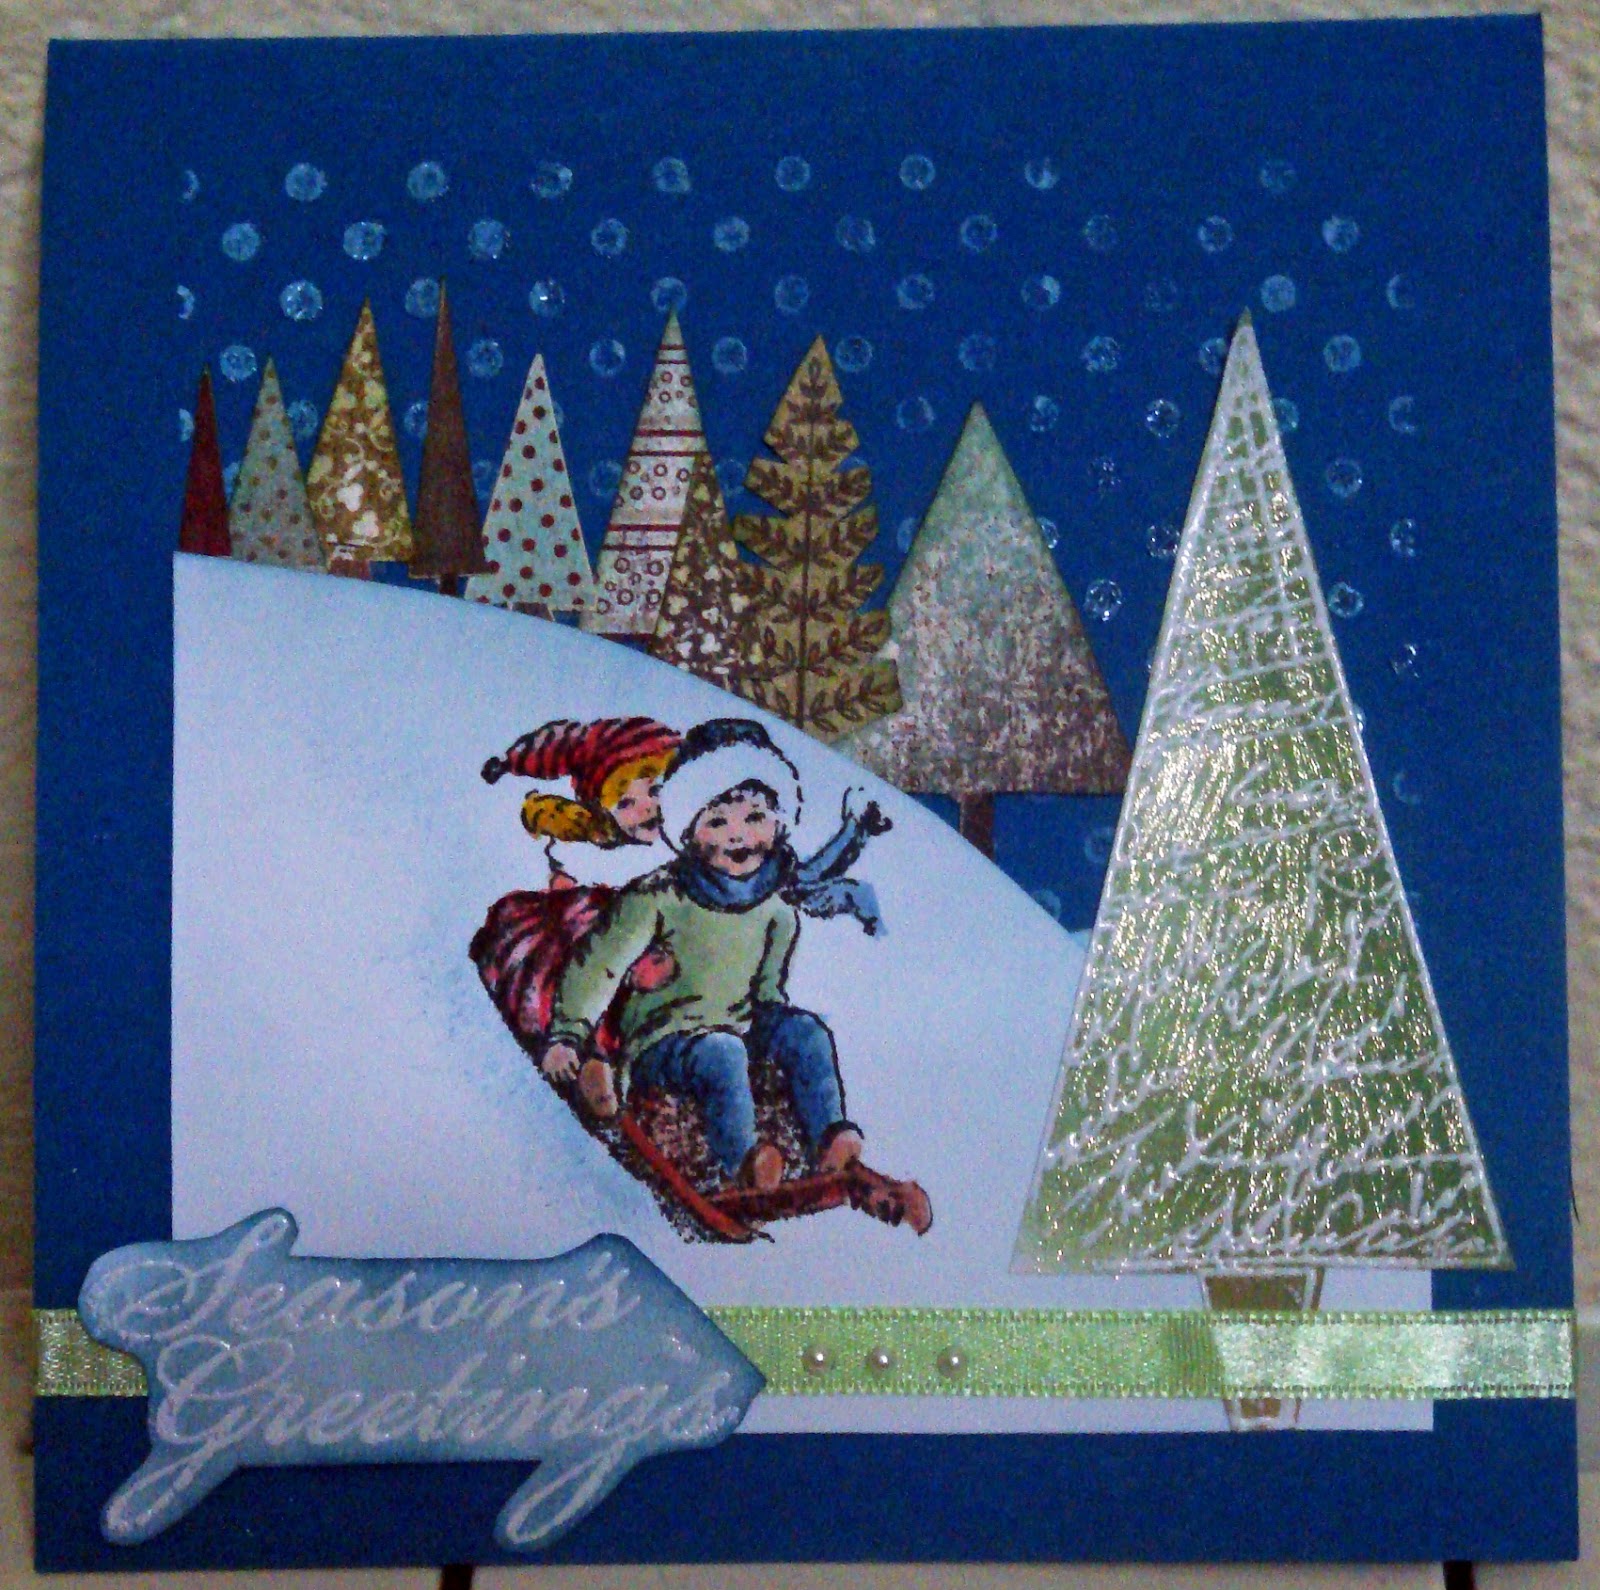
In this card I cut the snowy hills on white paper, inked the edges with Broken China distress ink and then layered the trees and the house. On the sky I just did some dots with stickles, I also added tons of stickles on the hills.


I also added stickles on the little house, actually I have covered just about everything with stickles, LOL!


One week to go before christmas, yay!!!

Wednesday, December 15, 2010

JYC 2010: December 13

Music is the prompt so on the right I printed a Sinatra album cover, I chose this one because I really liked the desing. On the left I colored an image with my copics and the background with distress inks, I also printed a greek christmas song (I experienced some smudgiing though).


I also printed my favorite christmas song, Sinatra's White Christmas, I adhered it on a pp and folded it in too, when it's closed it's like a mini book. I used a Tattered Angels snowflake mask for coloring the white paper.


Can you believe it that I barely used the clear Sakura Stardust pen, just a little on the lamp!


I also remembered to find my cd with the christmas songs, it is currently in my car so I don't miss the christmas spirit even when I'm driving!

Tuesday, December 14, 2010

JYC 2010: December 12

Christmas Past is the prompt, so I dug out a photo from my childhood!
On the left page, I printed a text from Dickens's "The Cricket On The Hearth", I inked it with Distress Inks, crumbled it and inked it again because I wanted to achieve this look.
On top I fastened with ribbon a colored image so that it flips upwards and on the back side I adhered the journaling card.
On the right I added a photo but I wanted to do some more journaling, so I made a kind of card. I also added some ribbon because the card was not centered on the page and it lacked balance, the ribbon was just perfect!


I watercolored the image with Distress Inks but my brush was not thoroughly cleaned from yesterday, so when I touched the paper it became green! While lamenting on my recklessness, I discovered that a green hue was actually just right because it gave a mouldy effect, which is perfect for old Scrooge's office!
Of course I also added a dash of shine on the border with Perfect Pearls.


For the cover of the card on the right, I stamped on the paper with embossing clear ink and then heat embossed with clear embossing powder. Then I thought to color it with my copics but I wanted to continue the color scheme from the left page, so I watercolored it with Distress Inks too, I also added Perfect Pearls on the bell. Then I dabbed more distress ink all over the card, I used a piece of rough bath sponge and the result is really interesting.


Today was a hectic day with work and all the streets jammed with traffic because of the strikes, but this little trip down to memory lane was just what I needed to relax!


Monday, December 13, 2010

JYC 2010: December 11

Christmas tree is the prompt, so I took two night shots of our tree because I love the lights!


On the left I wanted to add a christmas tree, so I colored one with distress inks and Perfect Pearls, I also added some stickles.

 
I also colored an image, I had a water accident on the face, so I sketched one, it's sort of scary, LOL!


Sunday, December 12, 2010

JYC 2010: December 10

Wrapping paper is the prompt. First thing, I printed an envelope template, cut it and then covered it with a paper napkin. Then, I added the "presents" on the right and made a pocket on the back for my journaling. Then I added photos of my favorite christmas items made of paper, that is an old paperback with Dickens's Christmas Books and the current issue of Magnolia Ink magazine.


I colored the image with my copics and then highlited some details with the clear Sakura Stardust pen, I also added a tiny bow on top.


I used a bow from the pattern of the napkin in order to make the closure.


Here's the envelope open, I wanted to put a photo inside but we haven't purchased gifts so far, so I put a photo of the christmas gift I purchased for myself, I'm still waiting for it to arrive!


I like very much wrapping gifts, and this is another reason why I love christmas!

LinkWithin

Related Posts with Thumbnails