I bet you've already seen these flowers in my projects,
so here's how you can make them too (quick and easy)!
First of all, you need some tulle, I've bought mine from Jumbo. I fold the piece of tulle a few times and then I use an stapler as shown:
Then I cut a circle like shown, I also color randomly the center with a marker:
Then I fold it around the back end of a pencil and while I hold it in place with a pair of tweezers I use my heat gun so that the tulle starts to shrink. A little attention is required because if it gets too much heated, it will be ruined.
Here's the result:
Last step, I embellish the center with a pearl, or microbeads, etc.
Quick easy and pretty, as promised! Have fun ladies!
It has been a while since I received Lena's blog candy and I wanted to share with you all the goodies I got. The fact is that I don't buy embellishments etc so everything I received apart from very cute and pretty will be very usefull as well and I loved the vintagey touch on most of them.
So Lena thanks so much, I wish you all the best!
May and June are the birthday months for the majority of my friends (I'm surrounded by a swarm of crazy Gemini, myself included, lucky me!!!). So, I was looking for a gift for a male friend who likes outdoor activities and the nature in general, and I had already printed the BW image and colored it with my copics in order to make a card with it. But, since I couldn't find an appropriate gift and given the fact that my friend likes the arts and crafts as well, I decided to turn the image into a decorative item by incorporating it in a photo frame I had already purchased from IKEA and was patiently waiting for some alteration.
First step, I lightly sanded the wooden frame and then covered it with white gesso. While the gesso was still wet, I added a drop of dark brown Distress ink on my craft mat, took it lightly with a foam brush and added irregular lines on the frame. Then I lightly brushed each side of the frame so as to make the dark ink blend more with the gesso.
Next step, I adhered with foam squares the colored image on a dark brown cardstock piece that I had already distressed its edges and positioned it on top of a white piece of paper that I had already cut according to the dimensions of the inner frame.
Then I used distress inks with the foam applicator and the idea was to "expand" loosely the "view" outside of the boundaries of the colored image. When the result was ok, I wanted to add a little texture so I covered the lot with Crackle Accents and when it was dry, I accented the cracks a little with Pumice stone. I had once more a "creative accident" that is that I forgot to heat set the distress inks prior to covering the image with the Crackle Accents so the colors diffused a bit, but the result was interresting nevertheless.
When I adhered the image on top of the background and inserted it inside the frame, it made totaly sense as a whole, so I'm very happy with the outcome. The only exception was that my colored image was too bright and I used the Antique Linen distress ink in order to give to it a vintage, weathered look.
I kept the original beige internal photo frame and the glass that was in the frame package and in case my friend gets bored with it, he can remove the image and use the photo frame as a photo frame!LOL!
Well, you guessed correctly, it is totally Joanna!
Today I didn't go to work because of a nasty tooth ache, actually I suffer from an inflammation of a nerve under a tooth so you get an idea....
So when the postman came, I was thrilled to find a birthday card from Joanna, it certainly made my day a whole lot brighter! Isn't she a doll?
The card is mostly in pink and green (have I ever mentioned that I love pink and green? LOL!) and it has several layers of material and a very pretty patterned paper. I also love the doily in the back as well as the pink distressed backround for the sweet Tilda (I think I'm addicted to Tildas, tell me doctor, will I survive it???). I also loved the pink ribbon detail because it reflects beautifully the pink dotted circle in the back.
Joanna, thanks so much for the gorgeous card, so fresh and cute and for your wishes, I wish joy and health to you and your family as well!
I really liked the process of making an album for Effie, so I decided to make another for my friend Maria whose birthday is approaching. I used a chipboard album from Sfragidomania and covered the pages with DCWV papers from the Garden Party paper stack.
As you can tell, green and pink is my favorite color combo, so I couldn't resist the temptation to use it once again! Also, I had the genious idea to write her name by mixing greek and english letters, but I just realized that it looks like I've written Mapia and not Maria! LOL!!!
As for the tiny flowers, I bet you've seen them again in my projects, it's a super easy and fast to make them, one of these days I'll make a post about how you can make them too!
I really love the image on the right page, it's a BW image I found online, I just printed it and colored it with my copics and on the back I wrote my wishes for my friend.
On this page I made a gatefold mini, I also added a separate photo tag on the back.
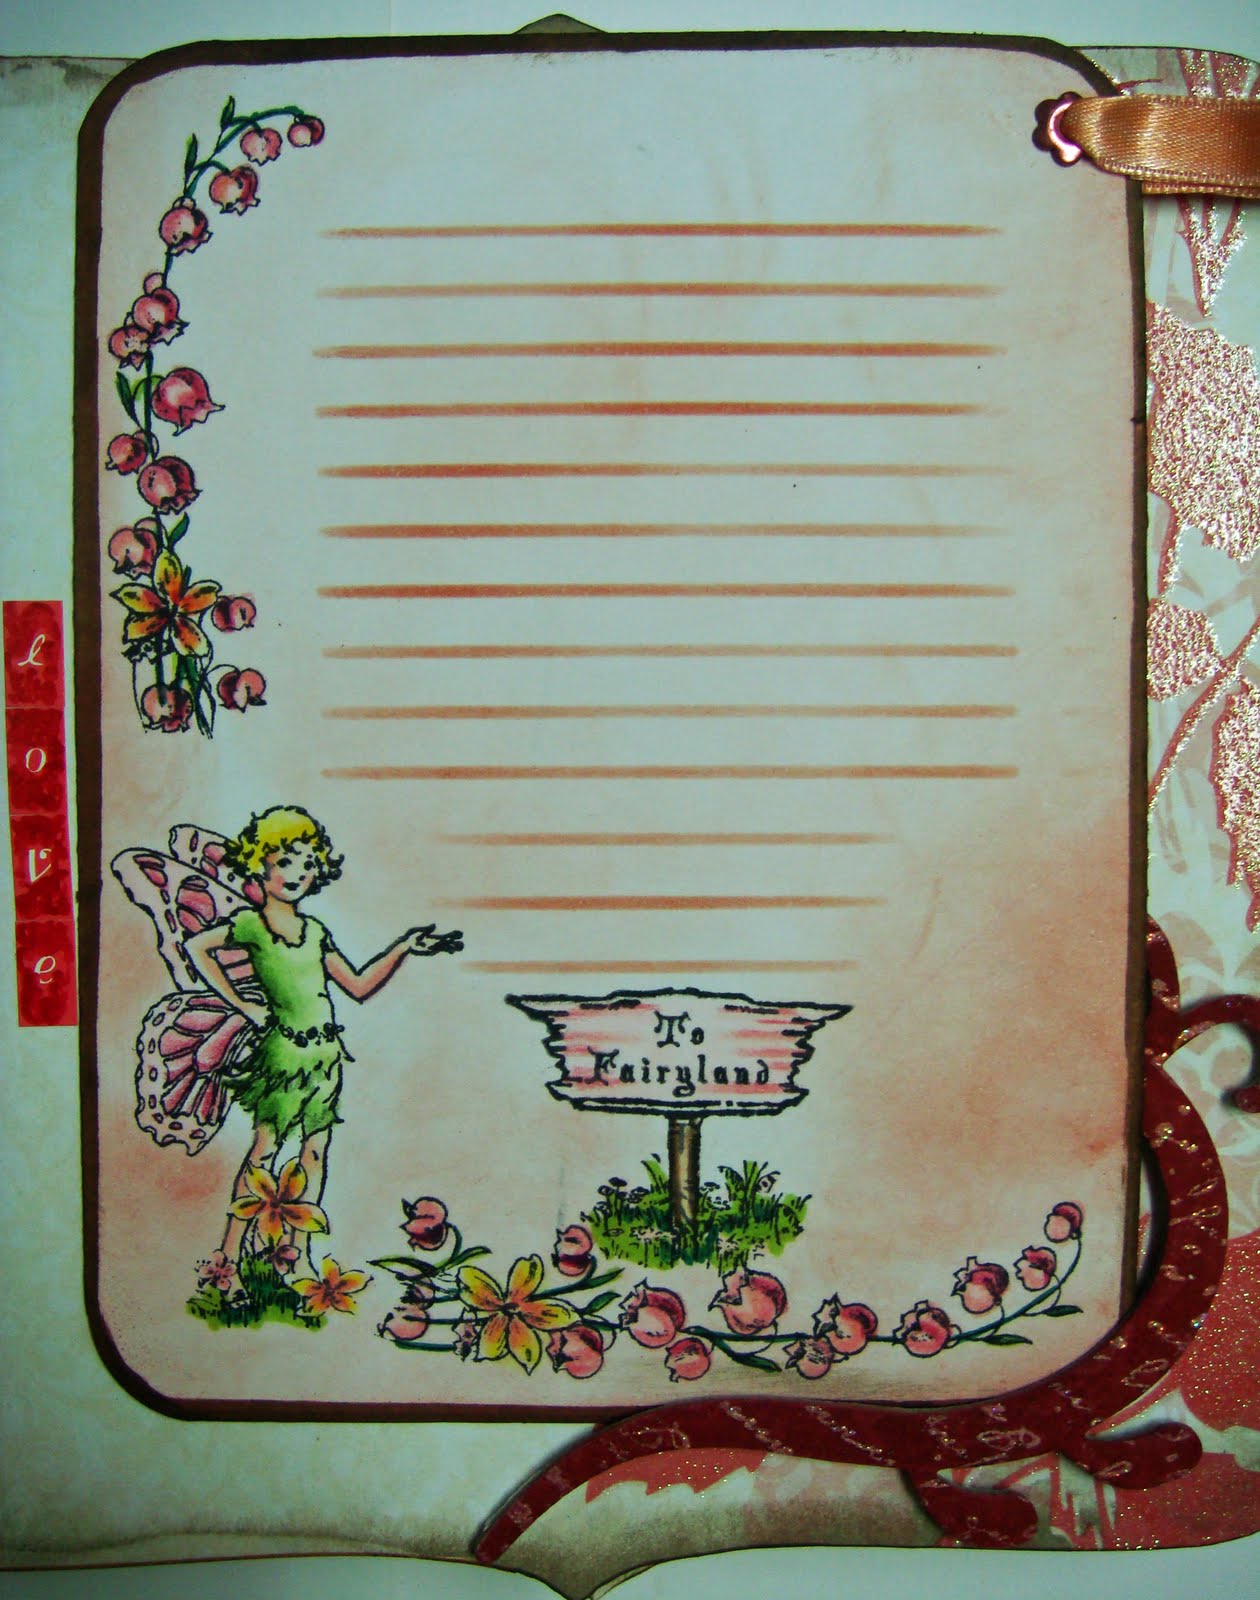
This is the back side of the photo tag on the right, I made a journaling spot, the stamps are from a Crafty Secrets clear stamps set, I colored it with my copics and finished it with colored pencils.
The image on the left is another BW image that I printed and colored with my copics, the "Mat Queen" was so suitable for my friend!
Here I made a trifold mini (on the left) and a booklet (on the right). The stamp is Crafty Secrets as well.
For the last two pages I made another tag and another mini mini (LOL!) the sweet Tilda was a loan from Joanna (thanks a bunch Joanna!) I was inspired from Effie's card and I made the background.
I guess my friend will like the album, she's not into scrapbooking but she loves the cards I make for her...and I hope you'll like it too!
Here 's a video as well: